Deploy Sonarqube to Azure App Service Linux Containers using an Azure DevOps Pipeline
Update 2020-10-12: I have updated the 101-webapp-linux-sonarqube-azuresql Azure Resource Manager quick start template to default to 7.7-community edition and prevent deployment of versions that aren’t currently compatible with Azure App Service Web App Containers.
Update 2020-10-09: It was pointed out to me that the process in this post had stopped working. The container was not starting up correctly. Upon investigation I found that this was because newer versions of the Sonarqube container includes ElasticSearch which requires additional heap memory to be assigned. Therefore the latest versions of Sonarqube can’t be used with this process. I am working on a full resolution to this issue, but in the meantime ensure you’re only using Sonarqube 7.7-community edition. I have updated the ARM template to no longer default to latest for the sonarqubeImageVersion parameter. There is also an issue in GitHub against the ARM template.
Sonarqube is a web application that development teams typically use during the application development process to continuous validate the quality of the code.
This post is not specifically about Sonarqube and how it works. It is intended to show Developers & IT Pros how to deploy a service to Azure using contemporary infrastructure as code and DevOps patterns.
A Sonarqube installation is made up of a web application front end backed by database.
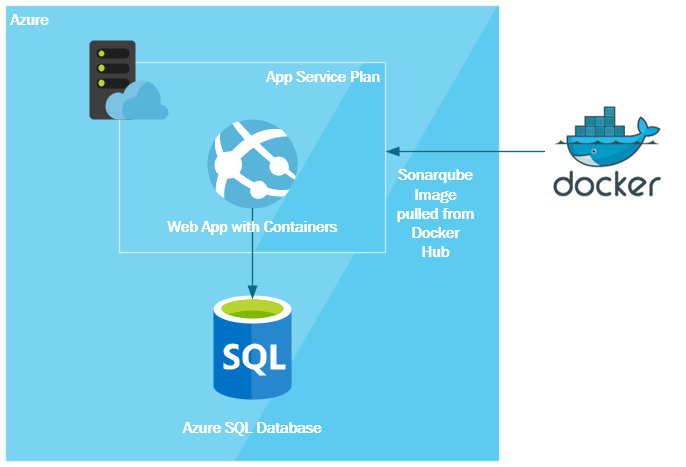
Sonarqube supports many different types of databases, but I chose to use Azure SQL Database. I decided to use Azure SQL Database for the following reasons:
- It is a managed service, so I don’t have to worry about patching, securing and looking after SQL servers.
- I can scale the database performance up and down easily with code. This allows me to balance my performance requirements with the cost to run the server or even dial performance right back at times when the service is not being used.
- I can make use of the new Azure SQL Database serverless (spoiler alert: there are still SQL servers). This allows the SQL Database to be paused when not being accessed by the Sonarqube front end. It can be used to further reduce costs running Sonarqube by allowing me to delete the front end every night and only pay for the storage costs when developers aren’t developing code.

For the front end web application I decided to use the Azure Web App for Containers running a Linux container using the official Sonarqube Docker image. Because the Sonarqube web application is stateless it is a great target for being able to be delete and recreate from code. The benefits to using Azure Web App for Containers are:
- Azure Web App for Containers is a managed service, so again, no patching, securing or taking care of servers.
- I can scale the performance up and down and in and out from within my pipeline. This allows me to quickly and easily tune my performance/cost, even on a schedule.
- I can delete and rebuild my front end web application by running the pipeline in under 3 minutes. So I can completely delete my front end and save money when it is not in use (e.g. when teams aren’t developing in the middle of the night).
The Sonarqube web application, as it has been architected, is accessible from the public internet. This might not meet your security requirements, so you might wish to change the architecture in the following ways:
- Putting an Azure Application Gateway (a layer 7 router) in front of the service.
- Isolate the service in a Azure Virtual Network from the internet and make it only accessible to your development services. This may also require Azure ExpressRoute or other VPN technologies to be used.
- We are using the SQL Server administrator account for the Sonarqube front end to connect to the backend. This is not advised for a production service - instead, a user account specifically for the use of Sonarqube should be created and the password stored in an Azure Key Vault.
These architectural changes are beyond the scope of this document though as I wanted to keep the services simple. But the pattern defined in this post will work equally well with these architectures.
Before we get into the good stuff, it is important to understand why I chose to orchestrate the deployment of these services using an Azure Pipeline.
I could have quite easily built the infrastructure manually straight into the Azure Portal or using some Azure PowerShell automation or the Azure CLI, so why do it this way?
There are a number of reasons that I’ll list below, but this is the most mature way to deploy applications and services.
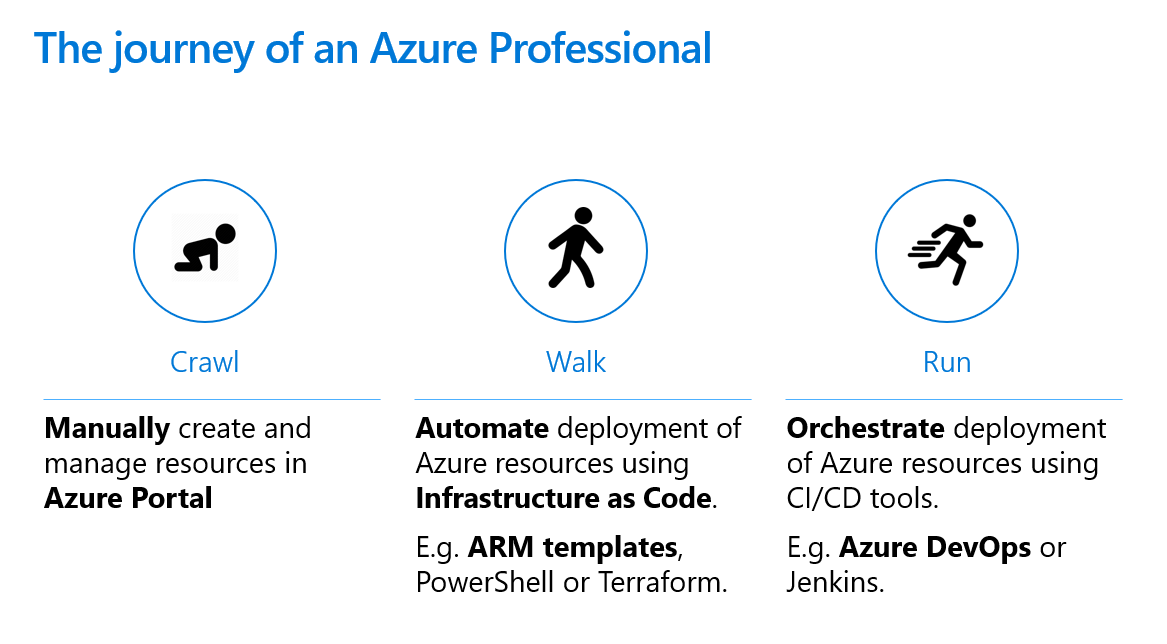
- I wanted to define my services using infrastructure as code using an Azure Resource Manager template.
- I wanted the infrastructure as code under version control using Azure Repos. I could have easily used GitHub here or one of a number of other Git repositories, but I’m using Azure Repos for simplicity.
- I wanted to be able to orchestrate the deployment of the service using a CI/CD pipeline using Azure Pipelines so that the process was secure, repeatable and auditable. I also wanted to parameterize my pipeline so that I could configure the parameters of the service (such as size of the resources and web site name) outside of version control. This would also allow me to scale the services by tweaking the parameters and simply redeploying.
- I wanted to use a YAML multi-stage pipeline so that the pipeline definition was stored in version control (a.k.a. pipeline as code). This also enabled me to break the process of deployment into two stages:
- Build - publish a copy of the Azure Resource Manager templates as an artifact.
- Deploy to Dev - deploy the resources to Azure using the artifact produced in the build.
Note: I’ve made my version of all these components public, so you can see how everything is built. You can find my Azure DevOps repository here and the Azure Pipeline definition here.
First up we need to have an Azure DevOps organization. You can sign up for a completely free one that will everything you need by going here and clicking start free. I’m going to assume you have your DevOps organization all set up.
- In your browser, log in to your Azure DevOps organization.
- Click + Create project to create a new project.
- Enter a Project Name and optionally a Description.
- Select Public if you want to allow anyone to view your project (they can’t contribute or change it). Otherwise leave it as Private to make it only visible to you.
- Click Create.
You’ve now got an Azure Repo (version control) as well as a place to create Azure Pipelines as well as a whole lot of other tools, such as Azure Boards, that we’re not going to be using for this project.
Next, we need to initialize our repository and then add the Azure Resource Manager (ARM) template files and the Azure Pipeline definition (YAML) file. We’re going to be adding all the files to the repository directly in the browser, but if you’re comfortable using Git, then I’d suggest using that.
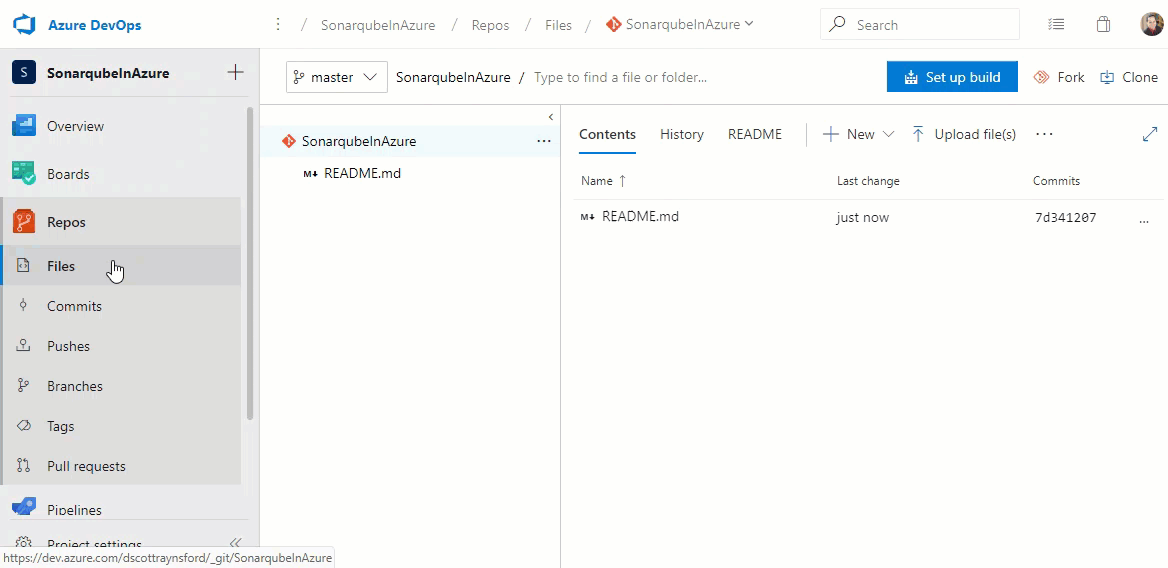
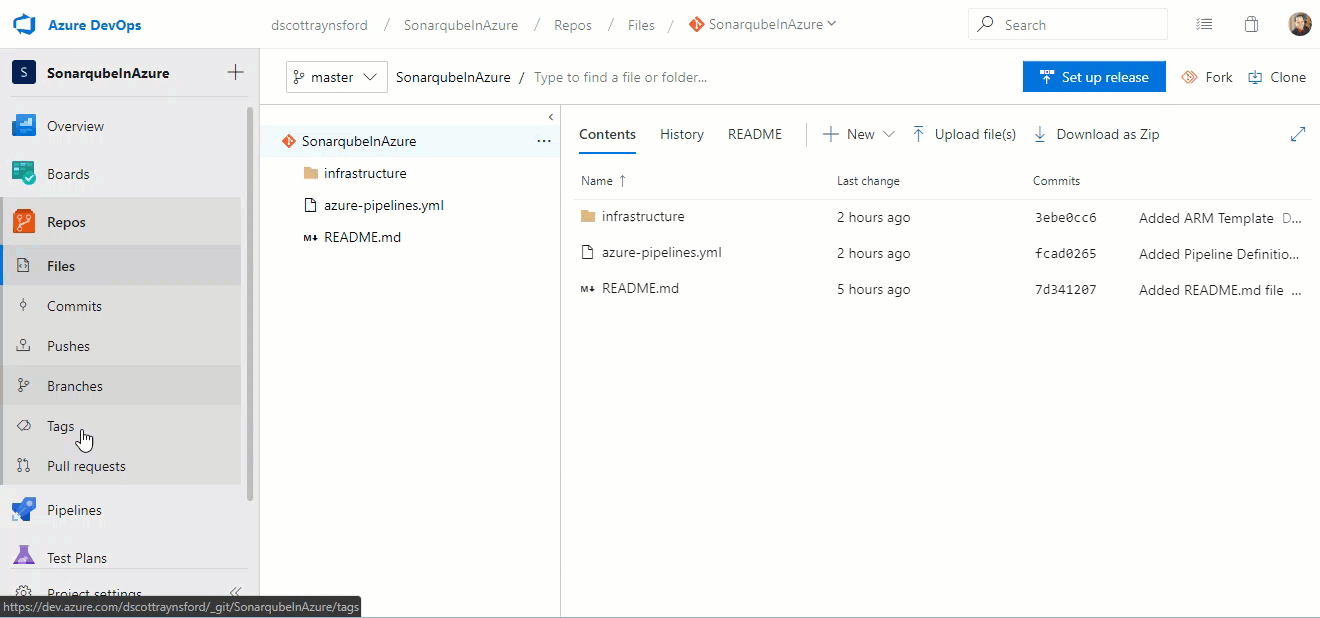
- Select Repos > Files from the nav bar.
- Make sure Add a README is ticked and click Initialize.
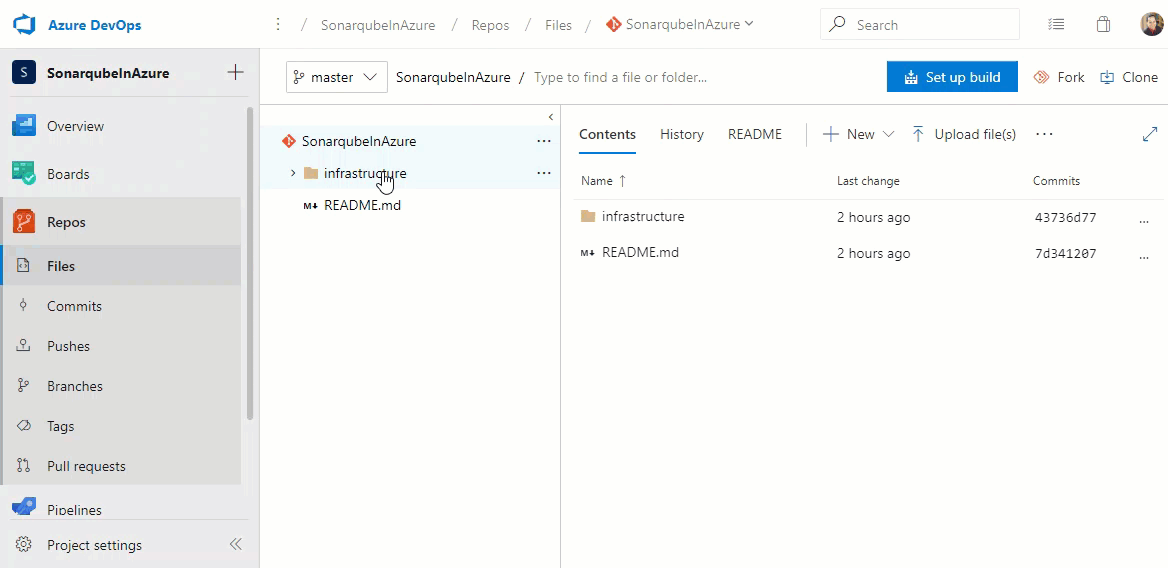
- Click the ellipsis (…) next to the repo name and select Create a new folder.
- Set the Folder name to infrastructure. The name matters because the pipeline definition expects to find the ARM template files in that folder.
- Enter a checkin comment of “Added infrastructure folder”.
- Click Create.
- Once the folder has been created, we need to add two files to it:
- sonarqube.json - The ARM template representing the infrastructure to deploy.
- sonarqube.parameters.json - The ARM template default parameters.
- Click here to download a copy of the sonarqube.json. You can see the content of this file here.
- Click here to download a copy of the sonarqube.parameters.json. You can see the content of this file here.
- Click the ellipsis (…) next to the infrastructure folder and select Upload file(s).
- Click the Browse button and select the sonarqube.json and sonarqube.parameters.json files you downloaded.
- Set the Comment to something like “Added ARM template”.
- Ensure Branch name is set to master (it should be if you’re following along).
- Click Commit.
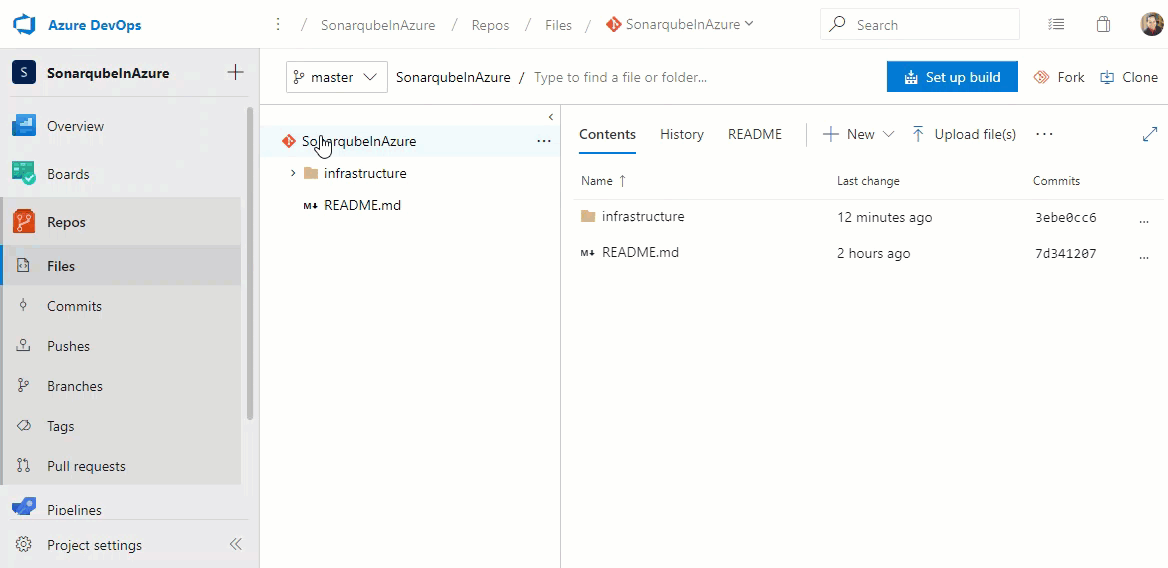
We’ve now got the ARM Template in the repository and under version control. So we can track any changes to them.
Note: When we created the infrastructure folder through the Azure DevOps portal a file called _PlaceHolderFile.md was automatically created. This is created because Git doesn’t allow storing empty folders. You can safely delete this file from your repo if you want.
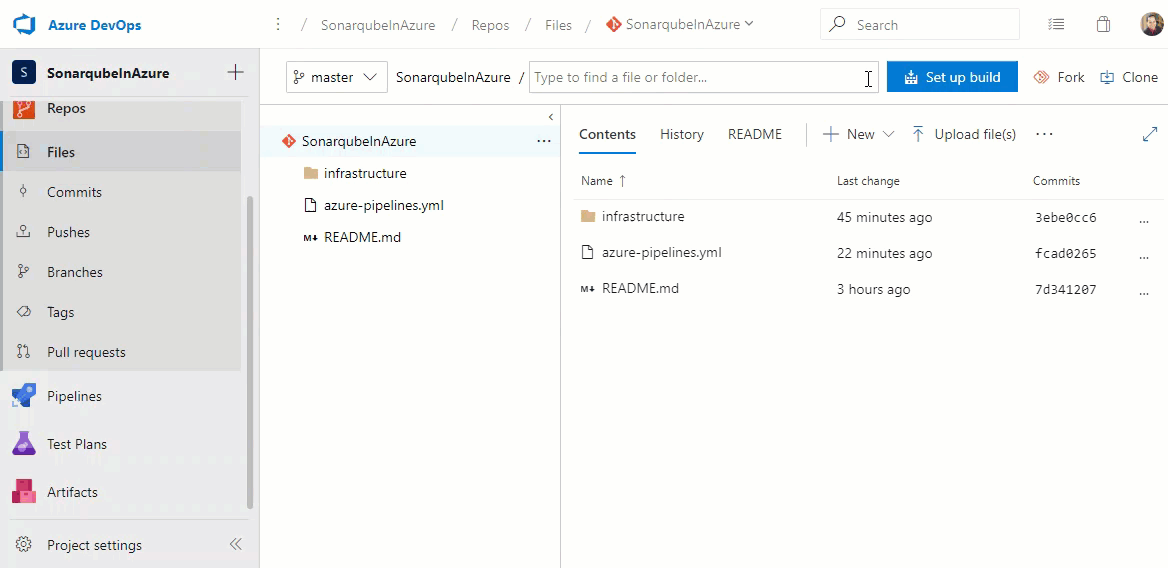
Now that we’ve got a repository we can create our mulit-stage build pipeline. This build pipeline will package the infrastructure files and store them and then perform a deployment. The multi-stage build pipeline is defined in a file called azure-pipelines.yml that we’ll put into the root folde of our repository.
- Click here to download a copy of the azure-pipelines.yml. You can see the content of this file here.
- Click the ellipsis (…) button next to the repository name and select Upload file(s).
- Click Browse and select the azure-pipelines.yml file you dowloaded.
- Set the Comment to something like “Added Pipeline Defnition”.
- Click Commit.
- Click Set up build button.
- Azure Pipelines will automatically detect the azure-pipelines.yml file in the root of our repository and configure our pipeline.
- Click the Run button. The build will fail because we haven’t yet created the service connection called Sonarqube-Azure to allow our pipeline to deploy to Azure. We also still still need to configure the parameters for the pipeline.
Note: I’ll break down the contents of the azure-pipelines.yml at the end of this post so you get a feel for how a multi-stage build pipeline can be defined.
For Azure Pipelines to be able to deploy to Azure (or access other external services) it needs a service connection defined. In this step we’ll configure the service sonnection called Sonarqube-Azure that is referred to in the azure-pipelines.yml file. I won’t go into too much detail about what happens when we create a service connection as Azure Pipelines takes care of the details for you, but if you want to know more, read this page.
Important: This step assumes you have permissions to create service connections in the project and permissions to Azure to create a new Serivce Principal account with contributor permissions within the subscription. Many users won’t have this, so you might need to get a user with the enough permissions to the Azure subscription to do this step for you.
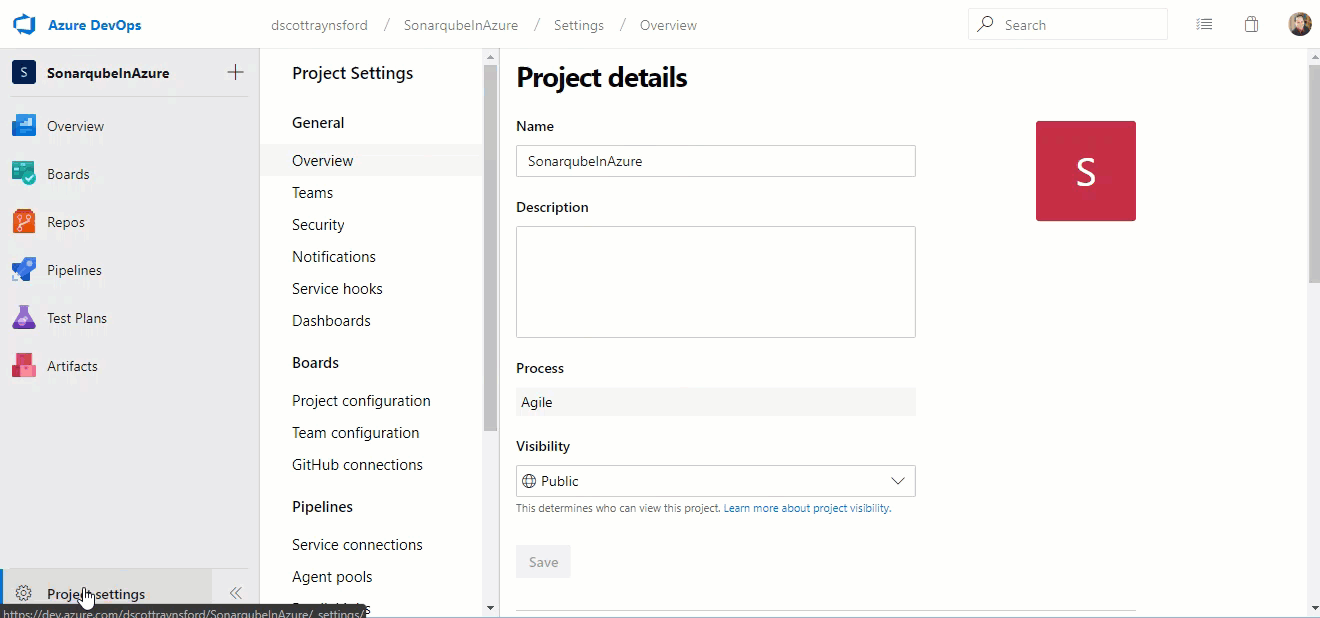
- Click the Project settings button in your project.
- Click Service connections under the Pipelines section.
- Click New service connection.
- Select Azure Resource Manager.
- Make sure Service Principal Authentication is selected.
- Enter Sonarqube-Azure for the Connection name. This must be exact, otherwise it won’t match the value in the azure-pipelines.yml file.
- Set Scope level to Subscription.
- From the Subscription box, select your Azure Subscription.
- Make sure the Resource group box is empty.
- Click OK.
- An authorization box will pop up requesting that you authenticate with the Azure subscription you want to deploy to.
- Enter the account details of a user who has permissions to create a Service Principal with contributor access to the subscription selected above**.**
You now have a service connection to Azure that any build pipeline (including the one we created earlier) in this project can use to deploy services to Azure.
Note: You can restrict the use of this Service connection by changing the Roles on the Service connection. See this page for more information.
The ARM template contains a number of parameters which allow us to configure some of the things about the Azure resources we’re going to deploy, such as the Location (data center) to deploy to, the size of the resources and the site name our Sonarqube service will be exposed on.
In the azure-pipelines.yml file we configure the parameters that are passed to the ARM template from pipeline variables. Note: There are additional ARM template parameters that are exposed (such as sqlDatabaseSkuSizeGB and sonarqubeImageVersion), but we’ll leave the configuration of those parameters as a seprate exercise.
The parameters that are exposed as pipeline variables are:
- siteName - The name of the web site. This will result in the Sonarqube web site being hosted at [siteName].azurewebsites.net.
- sqlServerAdministratorUsername - The administrator username that will be used to administer this SQL database and for the Sonarqube front end to connct using. Note: for a Production service we should actually create another account for Sonarqube to use.
- sqlServerAdministratorPassword - The password that will be used by Sonarqube to connect to the database.
- servicePlanCapacity - The number of App Service plan nodes to use to run this Sonarqube service. Recommend leaving it at 1 unless you’ve got really heavy load.
- servicePlanPricingTier - This is the App Service plan pricing tier to use for the service. Suggest S1 for testing, but for systems requiring greater performance then S2, S3, P1V2, P2V2 or P3V2.
- sqlDatabaseSkuName - this is the performance of the SQL Server. There are a number of different performance options here and what you chose will need to depend on your load.
- location - this is the code for the data center to deploy to. I use WestUS2, but chose whatever datacenter you wish.
The great thing is, you can change these variables at any time and then run your pipeline again and your infrastructure will be changed (scaled up/down/in/out) accordingly - without losing data. Note: You can’t change location or siteName after first deployment however.
To create your variables:
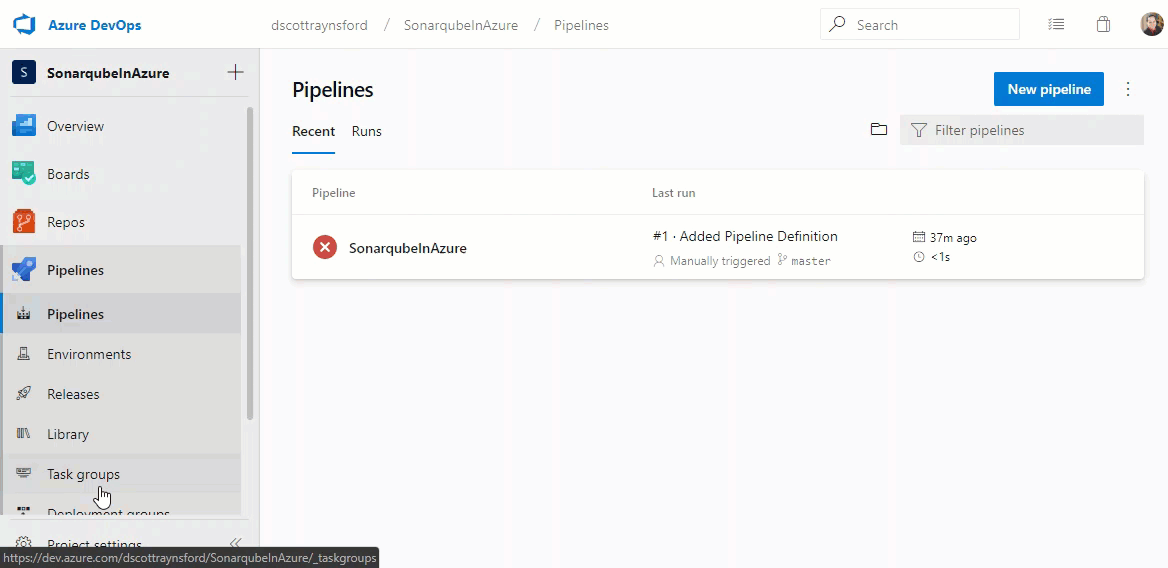
- Click Pipelines.
- Click the SonarqubeInAzure pipeline.
- Click the Edit button.
- Click the menu button (vertical ellipsis) and select Variables.
- Click the Add button and add the following parameters and values:
- siteName - The globally unique name for your site. This will deploy the service to [siteName].azurewebsites.net. If this does not result in a globally unique name an error will occur during deployment.
- sqlServerAdministratorUsername - Set to sonarqube.
- sqlServerAdministratorPassword - Set to a strong password consisting of at least 8 characters including upper and lower case, numbers and symbols. Make sure you click the lock symbol to let Azure DevOps know this is a password and to treat it accordignly.
- servicePlanCapacity - Set to 1 for now (you can always change and scale up later).
- servicePlanPricingTier - Set to S1 for now (you can always change and scale up later).
- sqlDatabaseSkuName - Set to GP_Gen5_2 for now (you can always change and scale up later). If you want to use the SQL Serverless database, use GP_S_Gen5_1, GP_S_Gen5_2 or GP_S_Gen5_4.
- location - set to WestUS2 or whatever the code is for your preferred data center.
- You can also click the Settable at Queue time box against any of the parameters you want to be able to set when the job is manually queued.

- Click the Save and Queue button and select Save.
We are now ready to deploy our service by triggering the pipeline.
The most common way an Azure Pipeline is going to get triggered is by committing a change to the repository the build pipeline is linked to. But in this case we are just going to trigger a manual build:
- Click Pipelines.
- Click the SonarqubeInAzure pipeline.
- Click the Run pipeline.
- Set any of the variables we want to change (for example if we wanted to scale up our services).
- Click Run.
- You can then watch the build and deploy stages complete.
Your pipeline should have completed and your resources will be on thier way to being deployed to Azure. You can rerun this pipeline at any time with different variables to scale your services. You could even delete the front end app service completely and use this pipeline to redeploy the service again - saving lots of precious $$$.
You can login to the Azure Portal to see the new resource group and resources that have been deployed.
- Open the Azure portal and log in.
- You will see a new resource group named [siteName]-rg.
- Open the [siteName]-rg.
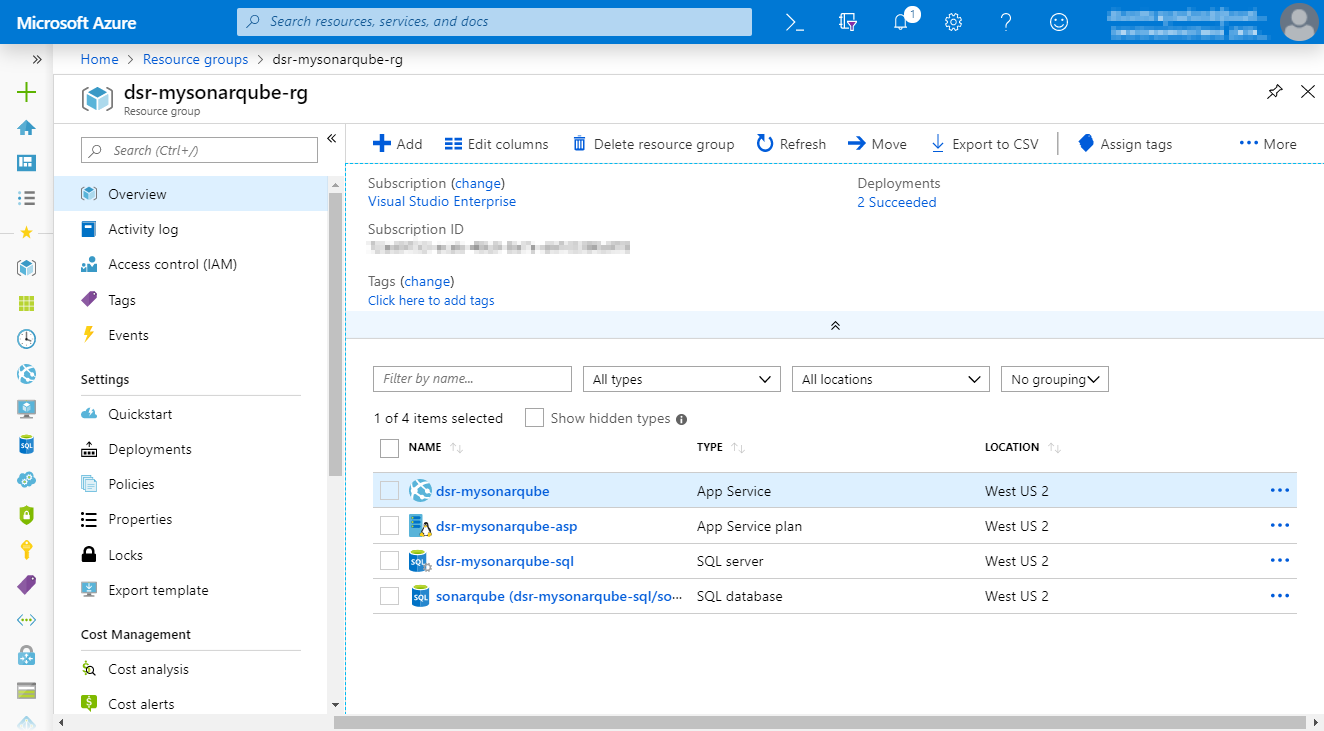
- Select the Web App with the name [siteName].
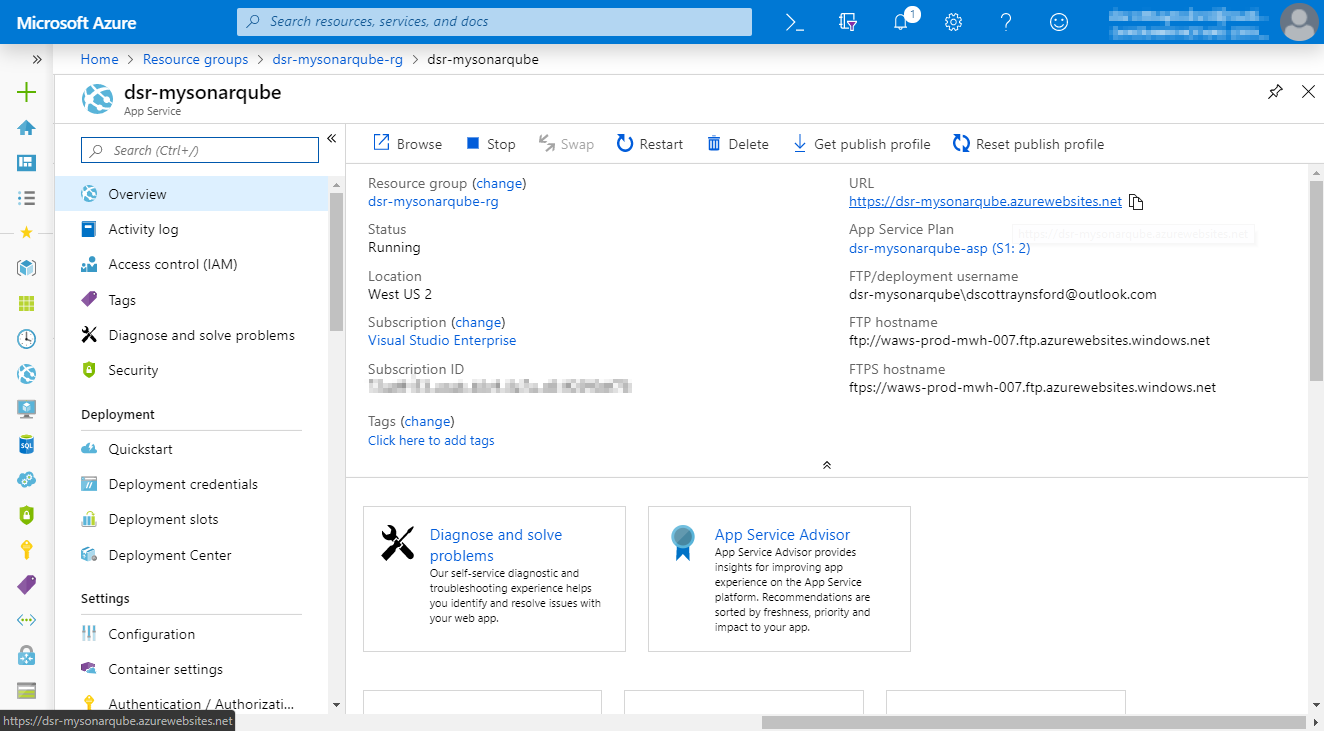
- Click the URL.
- Your Sonarqube application will open after a few seconds. Note: It may take a little while to load the first time depending on the performance you configured on your SQL database.
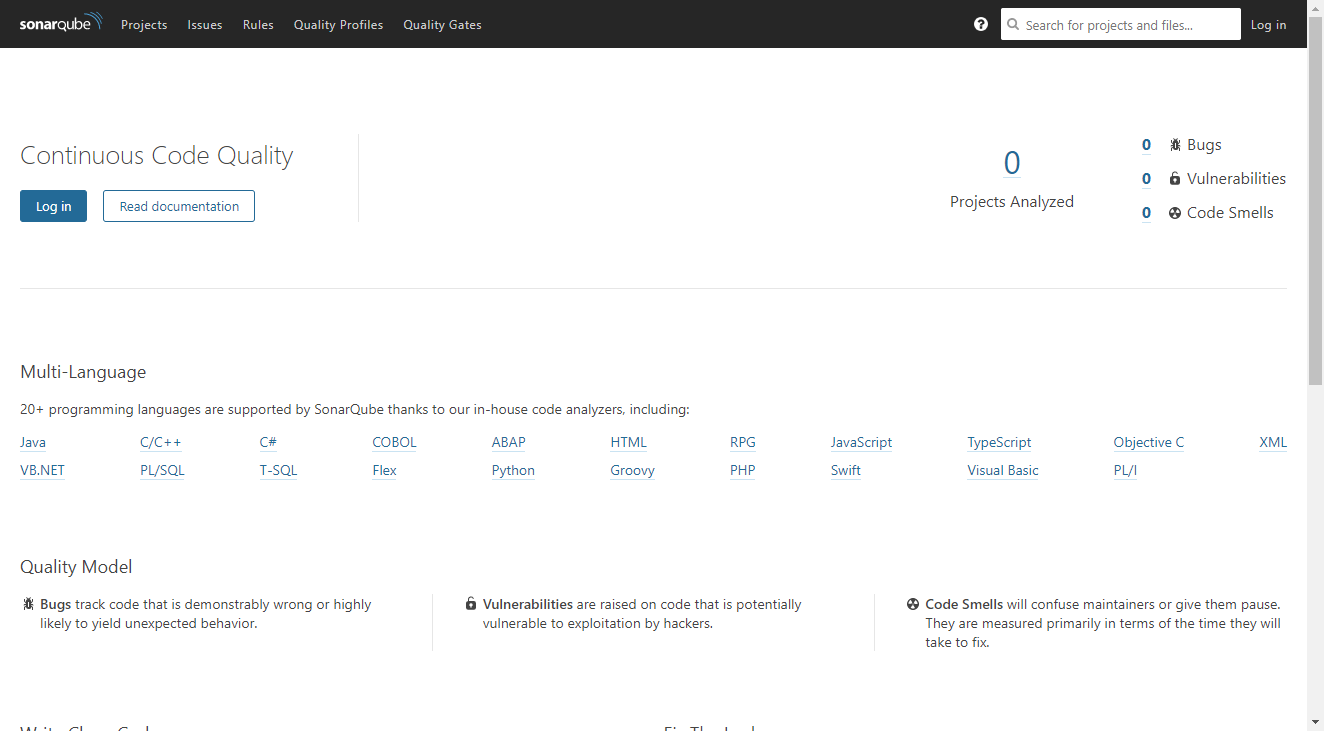
- Login to Sonarqube using the username admin and the password admin. You’ll want to change this immediately.
You are now ready to use Sonarqube in your build pipelines.
One of the purposes of this process was to enable the resources to be scaled easily and non-desrtructively. All we need to do is:
- Click Pipelines.
- Click the SonarqubeInAzure pipeline.
- Click the Run pipeline.
- Set any of the variables we want to change to scale the service up/down/in/out.
- Click Run.
- You can then watch the build and deploy stages complete.
Of course you could do a lot of the scaling with Azure Automation, which is a better idea in the long term than using your build pipeline to scale the services because you’ll end up with hundreds of deployment records over time.
At the time of writing this post, the Multi-stage Build Pipeline YAML was relatively new and still in a preview state. This means that it is not fully documented. So, I’ll break down the file and highlight the interesting pieces:

This section ensures the pipeline will only be triggered on changes to the master branch.

This section contains the two stages: Build and Deploy. We could have as many stages as we like. For example: Build, Deploy Test, Deploy Prod.
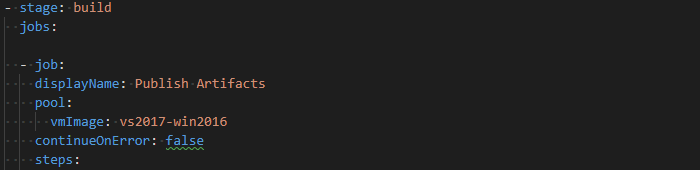
This defines the steps to run in the build stage. It also requires the execution of the stage on an Azure DevOps agent in the vs2017-win2016 pool.

This step causes the repository to be checked out onto the Azure DevOps agent.

This step takes the infrastructure folder from the checked out repository and stores it as an artifact that will always be accessible as long as the build record is stored. The artifact will also be made available to the next stage (the Deploy Stage). The purpose of this step is to ensure we have an immutable artifact available that we could always use to redeploy this exact build.
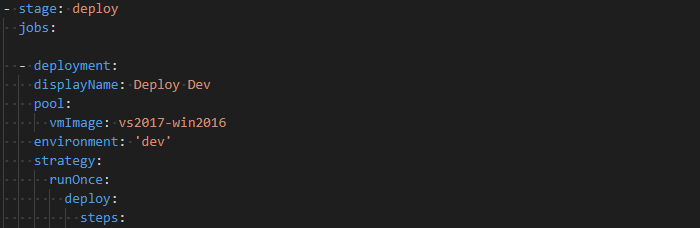
The deploy stage takes the artifact produced in the build stage and deploys it. It runs on an Azure DevOps agent in the vs2017-win2016 pool.
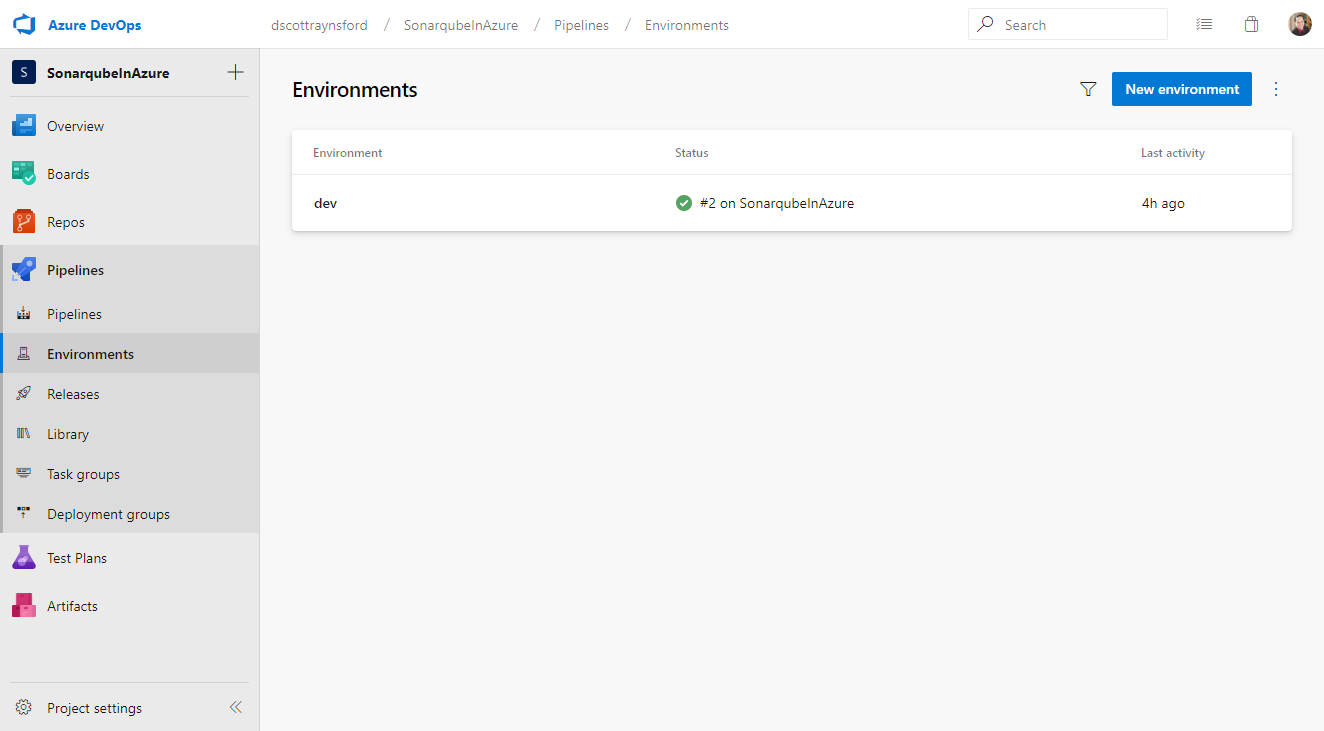
It also specifies that this is a deployment to an environment called “dev”. This will cause the environment to show up in the environments section under pipelines in Azure DevOps.
The strategy and runOnce define that this deployment should only execute once each time the pipeline is triggered.
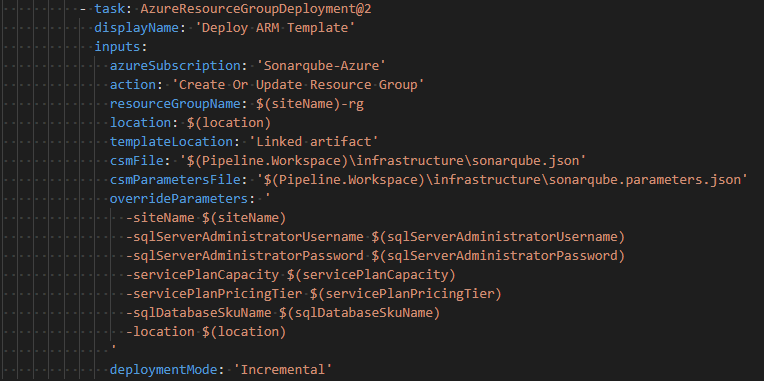
This deploy step takes the ARM template from the infrastructure artifact and deploys it to the Sonarqube-Azure Service connection. It overrides the parameters (using the overrideParameters) property using build variables (e.g. $(siteName), $(servicePlanCapacity)).
One final thing to consider: this deployment could be a great use case for implementing with Azure Blueprints. I would strongly suggest taking a look at using your build pipeline to deploy an Azure Blueprint containing the ARM template above.
Thank you very much for reading this and I hope you found it interesting.